Your Cart is Empty

Pluto Valve is a device used along with the Pluto Trigger for splash photography. For Pluto Trigger, it is a smart camera trigger that works over Bluetooth (Low Energy) Technology with over 24 special features that can assist you to shoot much better and remarkable photos.

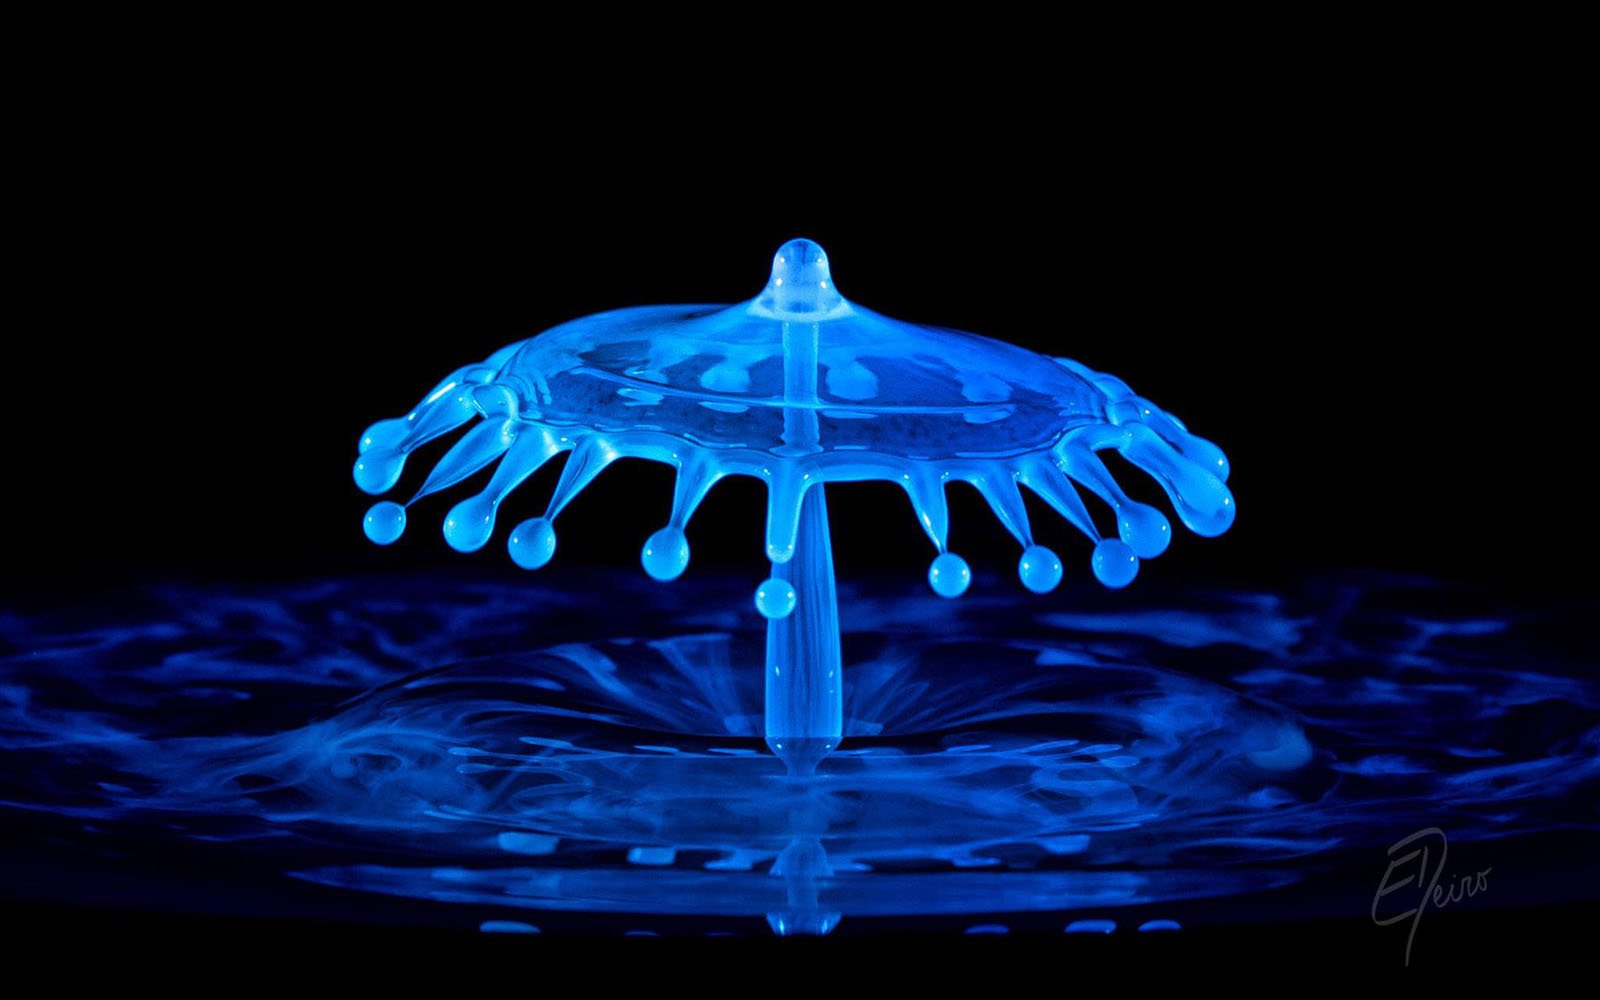
Pluto Valve is specifically designed for taking pictures of water drops colliding in mid-air. Tool that specially for these purposes is quite rare, which makes that sometimes clicking photos using the valve can get a little tricky. Here are some tips to help you through it. You can also refer here for an example in using the Pluto Valve.
To best capture a water droplet collision pictures, users should utilize the Pluto Valve in a darkened room or just in a dark setting. Using our Magic Arm for better stability, and mirrors, reflectors and black bowls for water will also enhance your photography and the results.
Since the Pluto Trigger is used along with it, it saves a lot of time. You can set up the exact time duration, and trigger it at the right size of the droplet, which helps alter some of the effect a droplet can produce. Once you get used to this accessories, you will feel everything is just that simple.
The water in the tube should maintain above the indicated level, which means it should not go below the bottom of the tube. If you allow so, the valve is unable to maintain constant pressure, which affect the performance when you drop the water. Furthermore, to appropriately using this tool, when inserting and pressing the small tube into the apparatus, ensure big tube will not leak. Otherwise, it can influence the size and other parameters of the droplet.

Please be aware that pressing and holding the button continuously and for too long will cause a huge voltage to flow through, thereby overheating the battery. To maintain a longer product life, methods like multiple short clicks are recommended.
Since the Pluto Valve is designed to be used with our Pluto Trigger, making sure you own a Pluto Trigger first, and before taking the droplet pictures, set the IR setting to match your camera first, then select our dedicated Droplet mode from the menu. If you did all setting correctly, the Pluto Trigger will send command to your camera properly, with two droplet being dropped and following a flash being triggered.
Calibration is very important, we offer a very detailed explanation in our user guide. Determining the Flash Delay by releasing the only one drop, where the device will trigger the flash when it rebounds and reaches the highest point. Using auto-calibration as well and set the ‘interval’ and ‘step’, this will allow the device to taking photos according to your customized settings. It will increase your efficiency in calibrating the machine and capturing better pictures.